Make Your Home Smarter, One Step at a Time

Table of Contents
I still remember standing in my hallway one night, phone in hand, tapping between four different apps just to turn off the lights before bed. One app for the bedroom lamp. One for the kitchen strip lights. One for the living room bulbs. And a fourth for a plug I’d forgotten I even owned. I had “smart lighting.” What I didn’t have was a system.
That gap — between owning a few smart devices and actually running an automated home — is where most people get stuck. You buy a bulb here, a switch there, maybe a voice assistant because it was on sale, and six months later you’re doing more app-switching than you ever did flipping physical switches. If that sounds familiar, you’re not behind. You just haven’t connected the pieces yet.
This guide is the system-level explanation nobody gave me when I started. We’re going to cover what actually separates a lighting system from a pile of disconnected gadgets, walk through the three components every setup needs, build your first real automation together, and help you pick an ecosystem you won’t regret in a year. Then we’ll get specific, room by room, because “smart lighting” means something different in a kitchen than it does in a bedroom.
Settings saved.
What “Lighting Control System” Actually Means
A smart home lighting control system is a network of connected light sources, a central hub or app that coordinates them, and an interface that lets you trigger multiple lights at once based on a schedule, a sensor, or a single command — instead of controlling each device individually.
That last part is the whole ballgame. If you have to open five apps to set a “movie night” mood, you don’t have a system — you have five smart devices politely ignoring each other. A real system means saying “goodnight” once and having every light in the house respond appropriately: the living room lamps fade out, the hallway kicks on at 10% for a few minutes, and the bedroom lamp dims to a warm glow. One trigger, coordinated response. That’s the difference.
The 3 Core Components of Any Lighting Control System
Every functioning setup, no matter the brand or budget, is built from the same three layers. Get these right and everything else — scenes, schedules, voice control — falls into place. Get them wrong and you’ll spend your Saturday afternoons fighting with apps instead of enjoying your home.
Light Sources — Smart Bulbs vs. Smart Switches
This is the decision that trips up more people than any other, and honestly, I got it backward myself the first time. I filled my living room with smart bulbs, screwed them into lamps and fixtures all over the house, and then realized: every single one of them has to stay powered on at the wall switch, or it goes dark and unreachable. My partner flipped the hallway switch out of habit one evening and killed three “smart” bulbs’ connectivity in one motion. That’s the trade-off nobody mentions in the marketing photos.
Smart bulbs are cheap to start with, need no wiring, and give you per-bulb color and brightness control — great for lamps, accent lighting, and rooms where you want dramatic effects. Smart switches replace the physical wall switch itself, which means the “dumb switch problem” disappears entirely, and every bulb behind that switch instantly becomes smart without buying a single new bulb. The trade-off: switches usually need a neutral wire, which older homes sometimes lack, and installation means a few minutes with a screwdriver (or an electrician, if you’re not comfortable with that).
My honest recommendation after years of running both: use smart bulbs where you want per-fixture personality — bedside lamps, accent strips, statement pieces. Use smart switches for anything on a wall that a family member might casually flip by hand — hallways, kitchens, entryways. We go much deeper into wiring requirements and specific models in our Smart Light Switch guide, and if strip lighting is more your speed, our Creative LED Strip Lighting Ideas for Bedrooms piece covers placement and color strategy in detail.
The Hub or Control Panel
The hub is the quiet coordinator sitting behind everything — the thing that lets your motion sensor talk to your bulbs, and your bulbs talk to your voice assistant, even when they’re made by three different companies that have never agreed on anything. Some ecosystems (Philips Hue, SmartThings) use a dedicated physical hub. Others (most of Google Home, a good chunk of modern Wi-Fi devices) skip the hub hardware and coordinate everything through an app and the cloud instead.
Here’s the thing I wish someone had told me: a hub-based system tends to be faster and more reliable, because devices talk to each other over a local protocol like Zigbee or Z-Wave instead of routing everything through the internet. A hubless, Wi-Fi-only setup is simpler to start — fewer boxes, fewer cables — but every device competes for your router’s bandwidth, and if your internet goes down, so does a chunk of your automation. If you’re planning to grow past six or seven devices, or you want a proper wall-mounted control panel your whole household can use without pulling out a phone, we broke down the best options in our Smart Home Control Panel buying guide.
The Interface — App, Voice, or Physical
The interface is simply how you actually tell the system what to do, and the best setups give you all three options without making you choose. The app is your control center for setup and fine-tuning — creating scenes, adjusting schedules, troubleshooting. Voice control (Alexa, Google Assistant, Siri) is what you’ll actually use ninety percent of the time, because nobody wants to unlock their phone to turn off a bedside lamp. And physical control — a smart switch, a battery-powered smart button by the door — matters more than people expect, especially for guests, kids, or anyone in the house who isn’t going to install an app just to turn on the kitchen light.
The mistake I see constantly: people set up voice control and call it done, forgetting that the moment Wi-Fi hiccups or a guest visits, physical switches become the fallback. Build for all three from day one and you’ll never have that “sorry, the lights are broken” conversation with visitors.
Top Picks: Full Reviews
Best Premium Starter Kit

Philips Hue Smart Light Bulbs Starter Kit — Bridge + 2 Bulbs

The included Hue Bridge is exactly the hub-based setup this guide recommends once you’re planning to grow past a handful of devices — it enables local, reliable automations instead of routing everything through the cloud.
Millions of colors, 800 lumens, and Matter connectivity mean it plugs cleanly into whichever ecosystem you land on.
Best for: Households ready to build a real hub-based system rather than a single Wi-Fi-only bulb
Pros
- Excellent 4.7/5 rating
- Complete starter setup with Hue Bridge included
- Extensive color customization
- Strong smart-home integration and Matter support
Cons
- More expensive than basic smart bulbs
- Requires the separate Hue Bridge to unlock full features
- Best value comes from building into the wider Hue ecosystem
Best Budget Smart Bulbs

Govee Smart Light Bulbs, A19 Color Changing (4-Pack)

The kind of Wi-Fi-only bulb this guide points to for lamps and accent lighting — no wiring, no hub, just screw it in and pair it with whatever voice assistant you already use.
16 million colors and music sync make it a strong fit for a bedroom or living room scene, at a fraction of the per-bulb cost of premium options.
Best for: Lamps, accent lighting, and rooms where per-fixture personality matters more than hub-based reliability
Pros
- Very high review volume
- Low cost per bulb
- 16 million colors with music synchronization
- Alexa/Google Assistant support
Cons
- Requires a stable 2.4GHz Wi-Fi network
- Does not support 5GHz
- Cannot be used behind a smart switch — needs constant power
Best Smart Switch, No Hub Required

Kasa Smart Light Switch HS200 — Single Pole, Wi-Fi

This is the fix for the exact “dumb switch problem” described earlier in this guide — replace the physical switch itself, and every bulb behind it becomes smart without buying a single new bulb.
No hub required, and the #1 Best Seller badge in its category reflects just how common this exact use case is.
Best for: Hallways, kitchens, and entryways — anywhere a family member might casually flip the switch by hand
Pros
- Very strong review volume
- No hub required
- Alexa/Google support with remote control and scheduling
- #1 Best Seller in Electrical Light Switches
Cons
- Requires a neutral wire
- 2.4GHz Wi-Fi only
- Installation may require an electrician
- Single-pole only
Best Accent / Strip Lighting

Govee 16.4ft RGBIC LED Strip Lights, App Control

The accent layer this guide recommends for bedrooms and TV backlighting — RGBIC multi-color effects and 64+ preset scenes give a room the “dramatic effect” a plain bulb can’t.
At under a dollar per foot, it’s an easy add-on once your core lighting layers are already in place.
Best for: Bedrooms, gaming setups, TV backlighting, and accent lighting behind headboards or shelves
Pros
- Very affordable per foot
- RGBIC multi-color effects with 16 million colors
- 64+ preset scenes and music synchronization
- App control with timers
Cons
- Does not support Alexa
- Not recommended for outdoor use
- Surface must be clean and dry for the adhesive to hold
Best for Hands-Free Rooms

Lutron Motion Sensor Light Switch, MS-OPS2-WH

This is the trigger type this guide flags for hallways and closets — motion-based automation that works with any bulb already in the fixture, no app or voice assistant required.
Adjustable shutoff delay and daylight detection mean it won’t fire unnecessarily during the day.
Best for: Bathrooms, garages, laundry rooms, and closets where hands-free lighting genuinely helps
Pros
- Strong 4.6/5 rating
- Reliable motion detection with daylight sensing
- Multiple operating modes (Occupancy/Vacancy)
- Adjustable shutoff delay (1, 5, 15, or 30 minutes)
Cons
- Higher cost than a basic wall switch
- Single-pole model only
- Installation requires electrical wiring knowledge
- Not a Wi-Fi/smart switch — no app or voice control
How to Set Up Your First Lighting Automation (Step-by-Step)
Theory is nice, but nothing clicks until you actually build one. Let’s set up a genuinely useful automation — an evening “arrival” scene — from scratch.
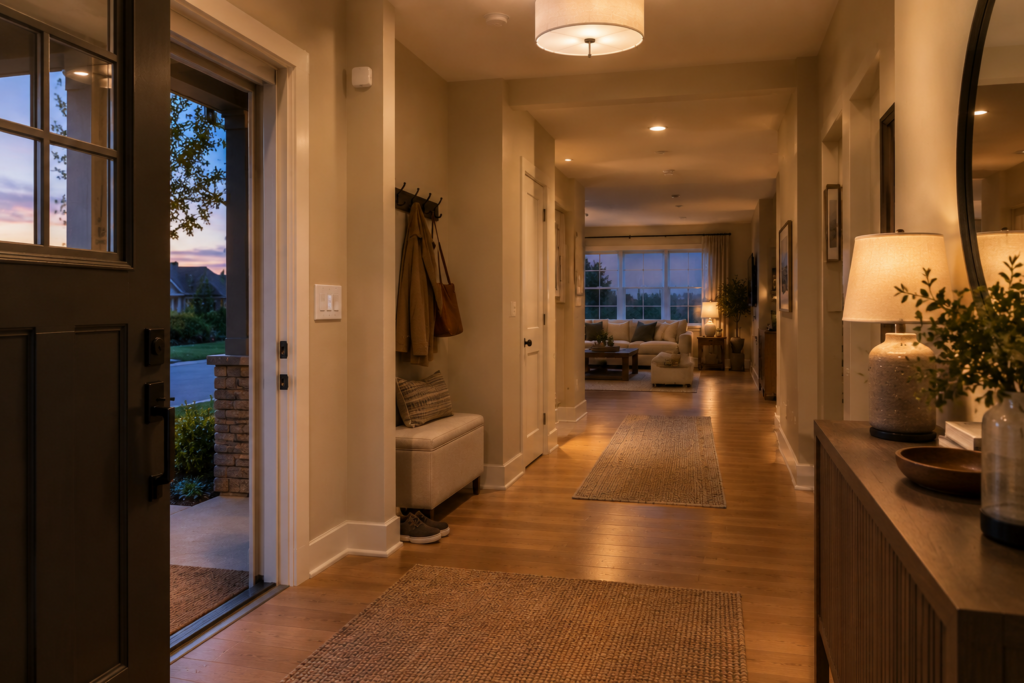
Step 1: Pick your trigger. Decide what starts the automation. For a first project, time-of-day (“15 minutes before sunset”) or location (“when I arrive home”) both work well and don’t require extra sensor hardware.
Step 2: Group your lights. In your app, create a group or room that includes every light you want this automation to touch — say, the entryway, hallway, and living room lamp. Grouping now saves you from editing five separate automations later.
Step 3: Set the scene, not just “on.” This is where people undersell themselves. Don’t just turn lights on — set a brightness level (60-70% for an entryway feels welcoming without being harsh) and a warm color temperature. That combination is what makes a home feel intentional instead of automated.
Step 4: Add a condition, if your app supports it. “Only run this if it’s after sunset” stops your entryway from blasting on at 3pm because you walked back from getting the mail. Most major apps (Google Home, Alexa, SmartThings) support this natively.
Step 5: Test it for a week before you build the next one. Automations compound — a poorly-tested scene becomes a headache once it’s feeding into three other routines. Let this one run for a few days, adjust the brightness or timing based on how it actually feels, then move to your next automation (bedtime, movie night, or a motion-triggered hallway light are natural next steps).
Choosing Your Ecosystem: Alexa vs. Google Home vs. HomeKit vs. SmartThings
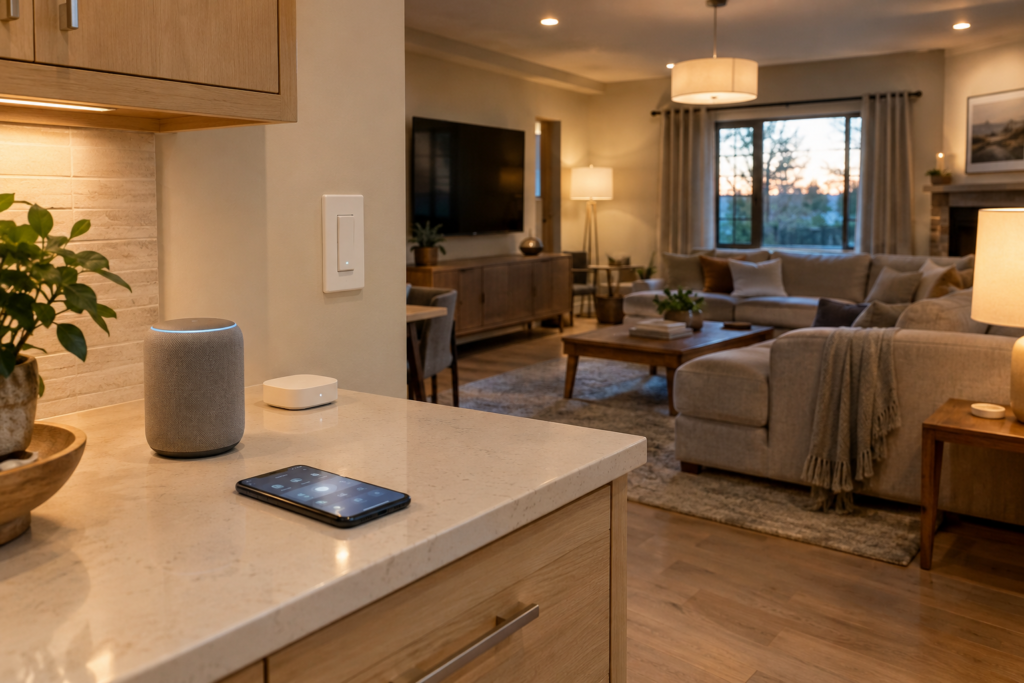
This is the decision that locks in your next several years of purchases, so it’s worth getting right before you buy a single bulb. Here’s the honest breakdown:
| Ecosystem | Best For | Device Compatibility | Local Control | Watch Out For |
|---|---|---|---|---|
| Amazon Alexa | Widest device support, budget flexibility | Excellent — nearly every brand supports it | Limited without a compatible hub | Routines can feel clunky compared to competitors |
| Google Home | Best voice understanding, multi-room audio combos | Very good | Improving, still cloud-reliant for most devices | App has been inconsistent across recent updates |
| Apple HomeKit | Privacy-focused households, existing Apple users | Smaller but growing (Matter is closing this gap) | Strong — Home Hub enables genuine local automations | Fewer budget device options; higher buy-in cost |
| Samsung SmartThings | Power users who want deep customization | Excellent, especially Zigbee/Z-Wave devices | Strong with the SmartThings Hub | Steeper learning curve for beginners |
My take, for what it’s worth: if you already own Apple devices and care about privacy, HomeKit’s local-first approach is worth the smaller device selection. If you want the absolute widest range of budget-friendly gadgets, Alexa wins on sheer compatibility. And if you’re the type who enjoys tinkering — building genuinely custom automations with conditions and exceptions — SmartThings rewards that patience. Google Home sits in the middle: strong voice recognition, solid device support, good for households that just want things to work without much fuss.
One more thing worth knowing before you commit: Matter, the newer cross-platform standard, is making the “which ecosystem” decision less permanent than it used to be. A growing number of new devices work across all four systems, so the walled-garden problem is slowly easing — but it’s not fully solved yet, so don’t buy expecting perfect cross-compatibility today.
Room-by-Room: Applying This to Your Home
All the theory in the world doesn’t matter until it’s actually mounted on your walls. Here’s how the system-level approach plays out in the rooms people ask about most.
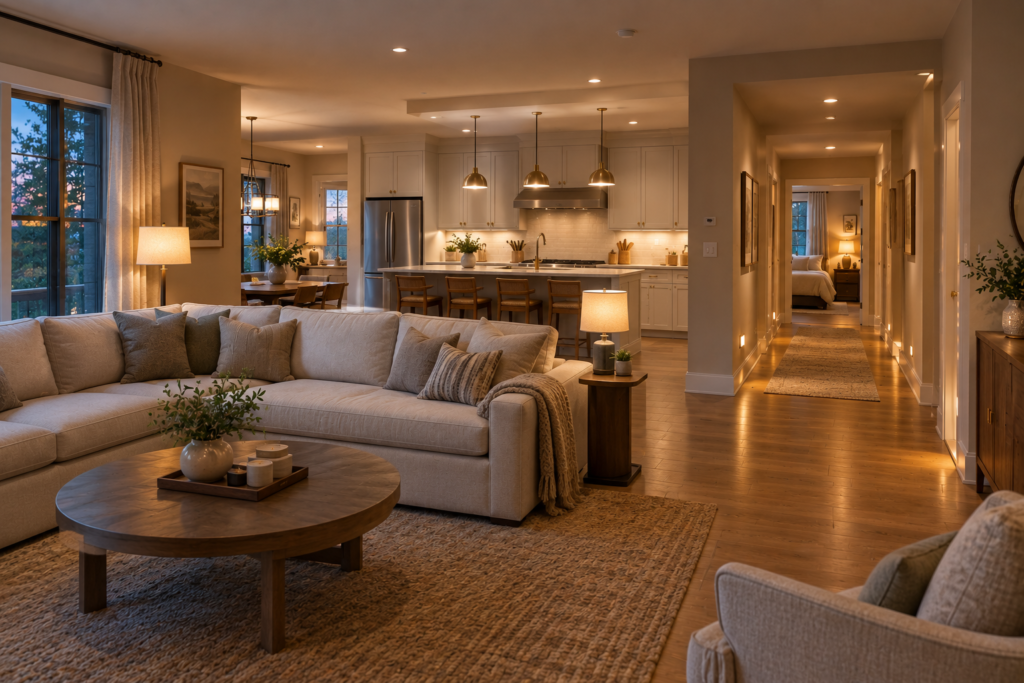
Living Room: This is usually where people start, and for good reason — it’s the room with the most lighting layers (overhead, lamps, accent) and the most to gain from scenes. A “movie night” scene that dims everything to 10% while leaving one lamp at a warm glow does more for the room’s feel than any single fixture upgrade. We go deep on layering strategy, the 5’7″ rule for lamp height, and which fixtures are actually worth the investment in our Modern Lighting Ideas for Living Room guide.
Bedroom: The bedroom rewards a completely different approach — this is where circadian-friendly warm tones and gradual dimming matter more than color-changing effects. A “wind down” automation that slowly lowers brightness and warms the color temperature over 20 minutes before your usual bedtime genuinely improves sleep quality; I was skeptical until I tried it myself. For strip lighting placement, layering behind headboards, and under-bed accents, our Creative LED Strip Lighting Ideas for Bedrooms guide has the full breakdown, and if you’re working with a smaller footprint, our Small Room LED Strip Lighting Ideas piece covers space-saving placement specifically.
Kitchen: Kitchens need brightness and reliability above all else — this is not the room for subtle mood lighting when you’re trying to see if the chicken is actually cooked through. Task lighting under cabinets, paired with a brighter overhead scene for cooking and a dimmer one for evening cleanup, covers most kitchen needs. Our Kitchen Ceiling Lighting Ideas guide walks through combining recessed LED panels with a statement fixture over the island — the combination that consistently tests best for both function and looks.
How Much Does a Smart Lighting Control System Actually Cost?
This is the question I get asked most often after “where do I even start,” and the honest answer is: it depends entirely on how much of your home you’re converting and which layer you’re buying into. A single smart bulb runs anywhere from $10 to $50 depending on brand and features (color-changing costs more than basic white). A smart switch typically lands between $20 and $60 installed, though you’re paying in labor if you’re not comfortable doing it yourself. A dedicated hub, if your ecosystem needs one, is usually a one-time $50 to $150 purchase that covers dozens of devices going forward.
For a realistic starting budget, I’d plan on $150 to $300 to properly automate one high-traffic room — living room or bedroom — with a mix of bulbs, a hub if needed, and whatever voice assistant hardware you don’t already own. Whole-home conversions, done room by room over time the way I did mine, tend to land somewhere between $600 and $1,500 depending on house size and how many rooms actually need switches versus bulbs. The good news: none of this needs to happen at once. Buy for one room, live with it for a month, then expand — you’ll make better decisions with a working system to reference than you will staring at a spec sheet.
One cost question worth addressing directly, since it comes up constantly: running smart lighting itself doesn’t meaningfully raise your electric bill. LED bulbs, smart or not, use a fraction of the power older incandescent bulbs did, and the small standby draw from a hub or Wi-Fi bulb is negligible next to what you’ll likely save by actually turning lights off on schedule instead of forgetting them on all day.
Common Lighting Automation Mistakes
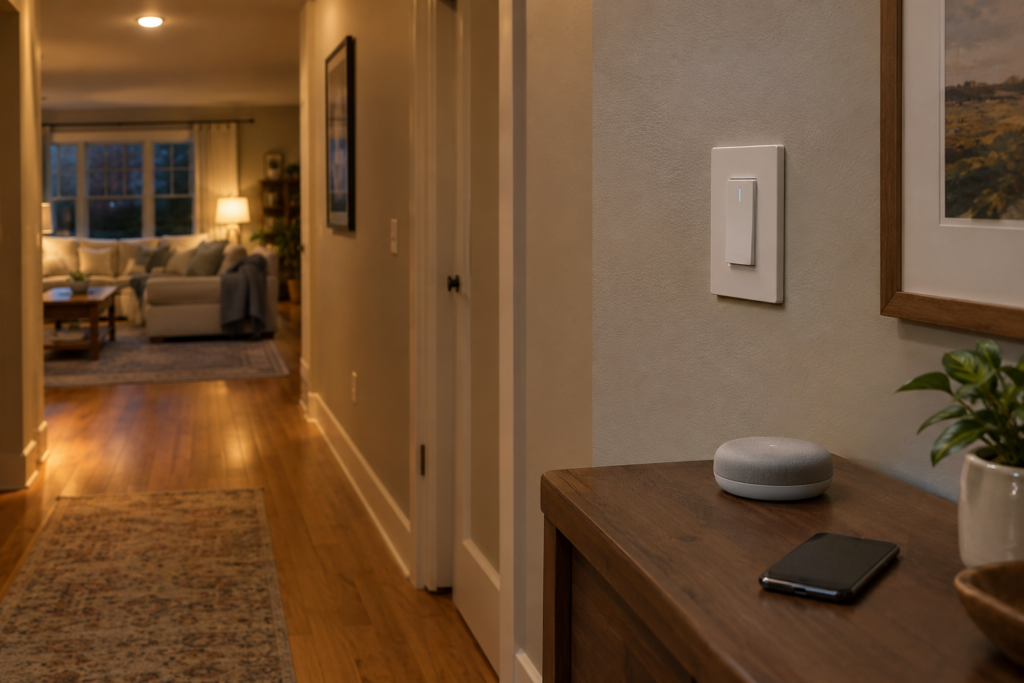
Mistake 1: Automating before you understand your own habits. The most elaborate automation setups I’ve seen fail were built by people who guessed at their routine instead of watching it. Spend a week noticing when you actually turn lights on and off before you automate anything.
Mistake 2: Ignoring the “guest test.” If someone unfamiliar with your setup can’t turn the lights on without asking you, the system has failed at its basic job. Always keep a physical switch or simple voice command as a fallback.
Mistake 3: Mixing brightness levels across a “scene” without checking them together. A scene built one bulb at a time in the app often looks disjointed in person — one lamp glaringly bright next to another barely glowing. Always preview scenes with the actual lights, in the actual room, at night.
Mistake 4: Over-automating motion sensors in shared spaces. Motion-triggered lights are fantastic in hallways and closets, borderline annoying in living rooms where people sit still for long stretches and the lights shut off mid-movie. Match the trigger to how the room is actually used.
Mistake 5: No plan for internet outages. If your entire lighting system depends on cloud connectivity, a router hiccup means fumbling for a switch you forgot existed. Hub-based, local-control setups avoid this — one more reason it’s worth considering early rather than retrofitting later.
Mistake 6: Buying across incompatible ecosystems before checking Matter support. I made this mistake myself early on — a batch of bulbs that worked beautifully with one app and then sat there useless when I switched voice assistants a year later. Before you buy anything now, a quick check for Matter compatibility can save you from re-buying an entire room’s worth of devices down the line.
Frequently Asked Questions
Do I need a hub for smart lighting, or just smart bulbs?
You don’t strictly need a hub to get started — Wi-Fi-only smart bulbs work directly through an app. But once you own more than five or six devices, a hub-based setup (Zigbee or Z-Wave) tends to be faster, more reliable, and less dependent on your internet connection staying up.
Can I mix smart switches and smart bulbs in the same system?
Yes, and most well-designed homes do exactly this. Just be careful about pairing a smart switch with a smart bulb on the same circuit — cutting power at the switch will disconnect the bulb, so use dumb bulbs behind smart switches, and smart bulbs behind regular switches (left permanently on).
What’s the easiest lighting control system for beginners?
A single-ecosystem, Wi-Fi-only smart bulb setup (Philips Hue’s basic kit or a comparable budget brand) paired with whichever voice assistant you already use. No hub, no wiring, minimal setup time — you can be automating your first scene within 20 minutes of opening the box.
Does smart lighting work if my WiFi goes down?
It depends entirely on your setup. Hub-based systems with local control (HomeKit and SmartThings both do this well) will usually keep basic automations and physical switches working. Cloud-dependent, Wi-Fi-only systems typically lose both remote and voice control until the connection is restored — physical switches remain your fallback either way.
Bringing It All Together
None of this needs to happen in a weekend. My own setup took the better part of a year to get right, and I still tweak scenes every few months as I figure out what actually fits how we live in this house. Start with the room you use most, pick light sources and a hub based on how that room actually behaves — not on what’s cheapest at the store that week — and build one automation at a time instead of trying to wire your whole home into a single master routine on day one.
The gap between “having smart bulbs” and “having a system” isn’t really about spending more money. It’s about the three layers working together instead of independently. Get the light sources, the hub, and the interface talking to each other, and the rest — scenes, schedules, that satisfying “goodnight” command that shuts down the whole house — falls into place almost on its own.
If you’re ready to get specific, start with whichever room bothers you most right now. Our living room, bedroom, and kitchen guides pick up exactly where this one leaves off — and if you’re still choosing your central hub, our Smart Home Control Panel guide is the natural next stop. Already building your own system? Tell us what tripped you up in the comments — we read every one, and it genuinely shapes what we write next.